
The challenge in preparing images for projection, or display on the web, is to ensure that
- all of the available gamut is used as best as possible to show off as much of the colour in your image as well as possible, and that
- your image is converted to the required resolution in a way that preserves as much detail as possible.
Projected images are displayed on equipment (projector) which has a fixed (usually low) resolution, and limited colour gamut. Home computer monitors also have relatively low resolution (compared to print) and a much smaller colour gamut (usually approximately sRGB) than your camera can capture. (See this comparison of the colour gamuts of cameras, monitors and printers.)
Because of this, it is necessary to encode images in the sRGB colour space, if they are intended for display, via the web, on other people’s every-day home computer monitors. This is the only circumstance when serious photographers need to consider ever using sRGB.
However, it is a mistake to think that, because you are intending to look at your images on screen or via projection only, you should shoot JPEG and store in sRGB.
The ‘rules’ for capturing, storing, and editing a digital photo for projection are exactly the same as those for preparing for print. You need as much image quality and available data as possible.
If you keep your files with maximum data (not compressed, therefore not JPEG) and in the largest possible colour-space (therefore not sRGB) you will have all your data, and the maximum range of colours available should you later wish to print an image, or should the time ever come when wide-colour-gamut monitors are the inexpensive rule, rather than the expensive exception.
Convert a copy of your file for projection only at the last possible moment.
[ By the way, if you happen to be preparing images for inclusion in a published newsletter, the image-quality considerations above, and the output processes below, apply. Many publishing applications, particularly in MS Windows, are not colour managed, so it is important that you take control of when and how you convert your image to the sRGB colour space. ]
Saving or Exporting a file for digital display (web or projector)
The exact process depends on your software. We give here the process for three software programs: Lightroom, Photoshop, and Picasa. If you use a different program you will probably find that its process is the same as one of these.
Lightroom
Once you have finished all adjustments and you are happy with your image, return to the Library Module and click on ‘Export’ (the button at the bottom left of the screen, or choose ‘Export’ from the drop down from ‘File’ in the main menu bar). The ‘export’ procedure automatically makes a copy of your original before changing the image for digital display.

Enter 1920 (pixels) in width and 1200 in Height.
- Notice that 1920 and 1200 pixels are the maximum values allowed for width and height.
Photoshop
Once you have finished your adjustments and you have saved your image (TIFF or PSD file), you need to prepare a copy for digital display.
The process is a bit long-winded compared to Lightroom but it demonstrates all the changes that need to be made to the file.
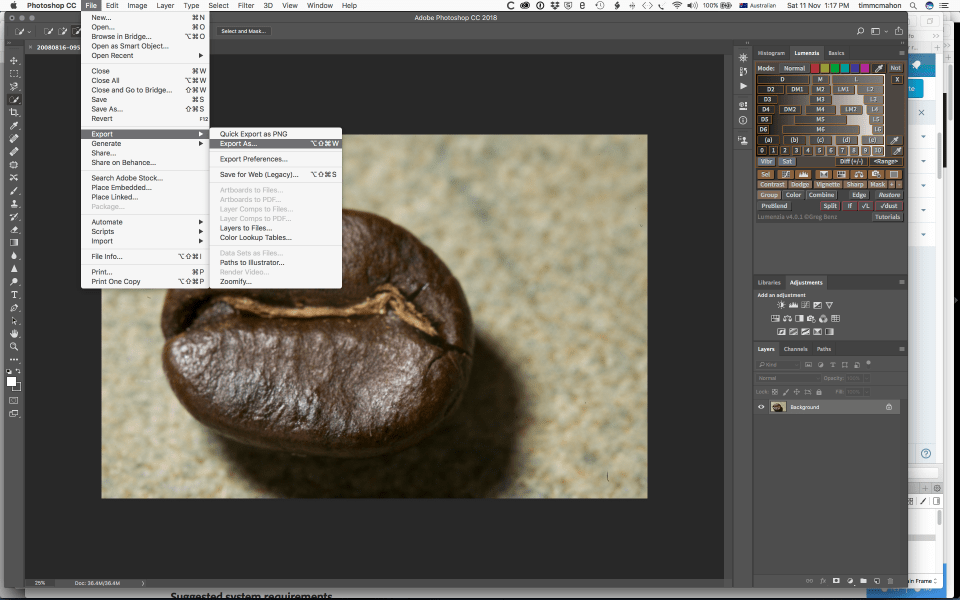
Firstly, choose File – Export – Export As
Then on the next screen
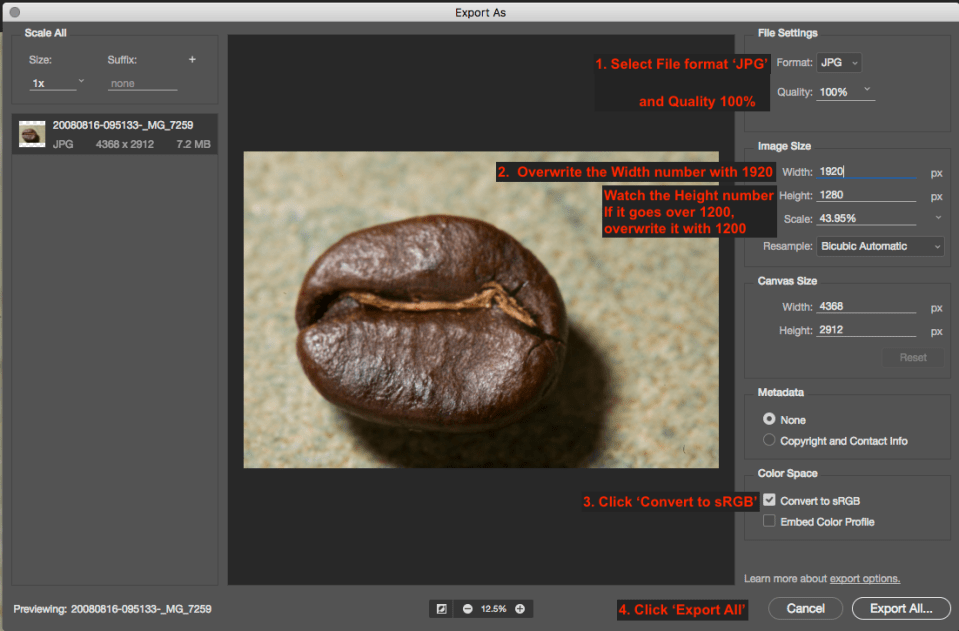
- Notice that 1920 and 1200 pixels are the maximum values allowed for width and height. If, when you enter 1920 for width, the height number falls to less than 1200, that’s OK; it means that your image is of a more panoramic format than ‘normal’ 3X2 landscape. You need do nothing more.
- If, when you enter 1200 for height, width drops to less than 1920 that’s OK. It means your image is squarer than a 3×2 landscape or is in portrait format.
- Leave ‘Scale’, ‘Constrain Proportions’, and ‘Resample’ clicked, as shown.
Now make sure the resized image has it’s colours converted to the sRGB colour space, as shown.
Picasa
The attractiveness of Picasa is its cost. It’s free! Exporting at the right size is really simple in Picasa:

Picasa is deceptively simple to use, but it’s simplicity and price come with a cost! You cannot change the colour space of an image in Picasa. If you captured your image as a JPEG in the AdobeRGB colour space, it will look unsaturated and dull when projected. To counter that you could capture your JPEG image in the sRGB colour space and the colours will look OK. But we don’t recommend shooting in the sRGB colour space because the limited colour range in your images may then not be optimum for printing.
